A Travel Guide to the Trolltunga Hike in Norway
8 Minute Read
The Trolltunga hike is a long and challenging day hike in Norway. This guide tells you how you can hike to Trolltunga, also known as the Troll’s Tongue, yourself.
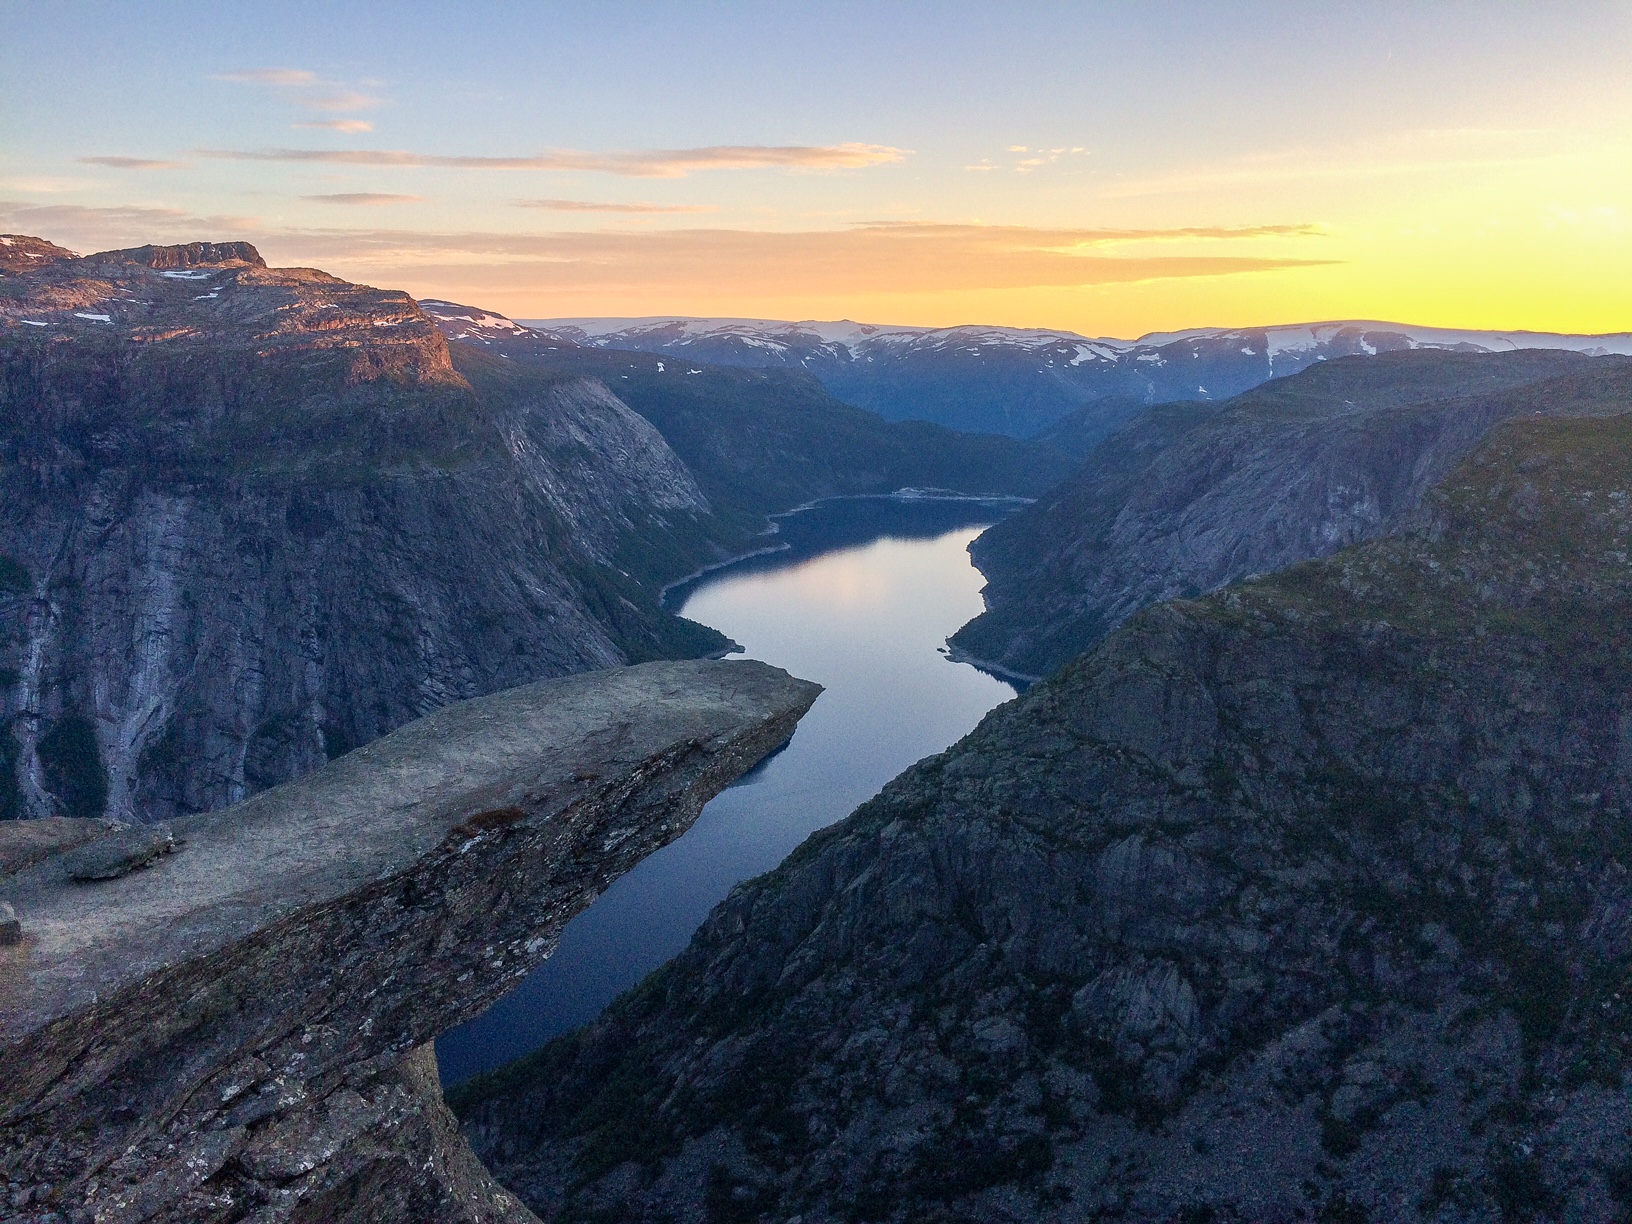
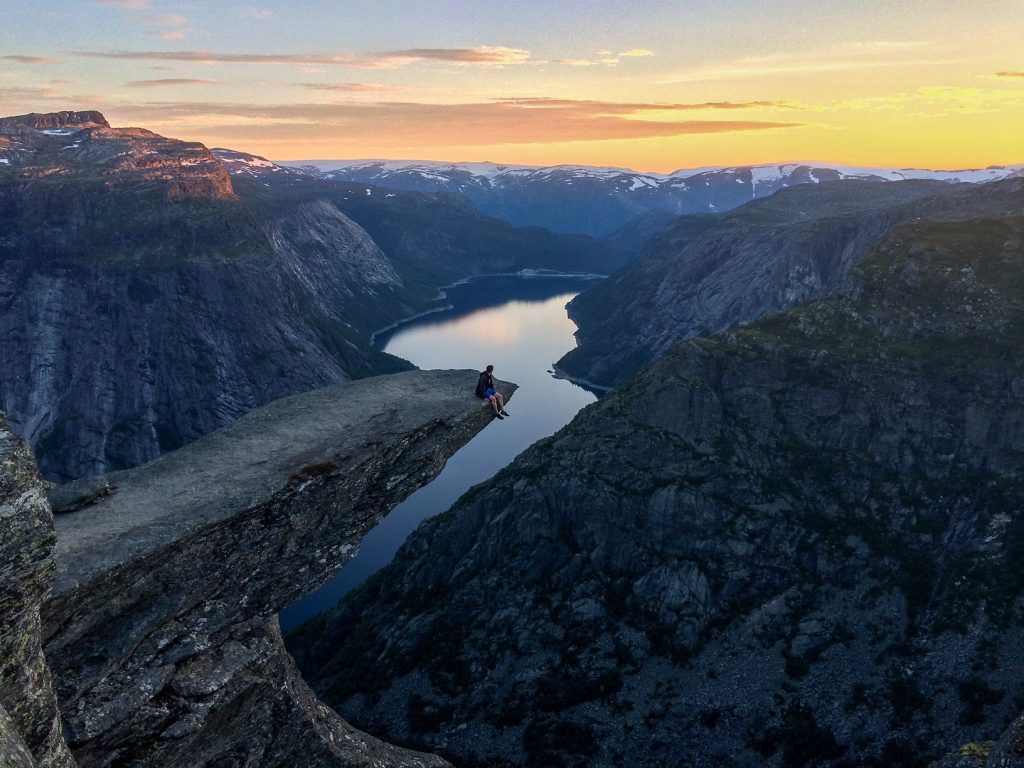
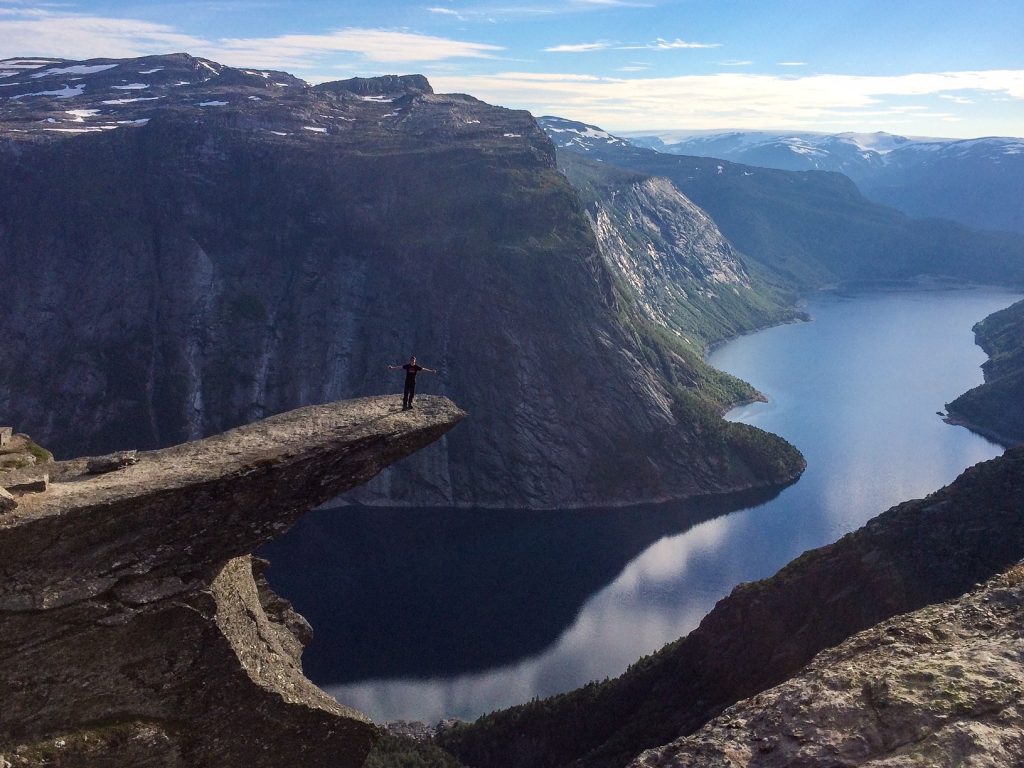
Trolltunga can only be reached on foot. It is famed for its dramatic slab of granite that juts into the air and soars 1,100 metres above sea level, along with its astonishing mountain views.
Those who dare to walk out onto the edge of the rock appear to be standing in the thin air, far above the lake below. The wind whips around you and the cold updrafts rise from the valley beneath you.
It’s an extraordinary experience and undoubtably one of the best day hikes in Europe.
This guide on the Trolltunga hike will include:
- What is it?
- Where Does it Start and Finish?
- How Long Does it Take to Hike?
- What is There to See?
- How to Get There?
- What to Pack?
This page contains affiliate links. This means I make a commission if you buy a product I have recommended (at no extra cost to you). All recommendations I give are genuine and my own. Thanks for the support!
See also:
How to Hike Pulpit Rock in Norway
10 Hiking Safety Tips
10 Beginner’s Hiking Tips
1. What is the Trolltunga Hike?
Trolltunga is a famous rock ledge in the west of Norway. It is in an isolated area of wilderness on the edge of the Hardangervidda National Park.
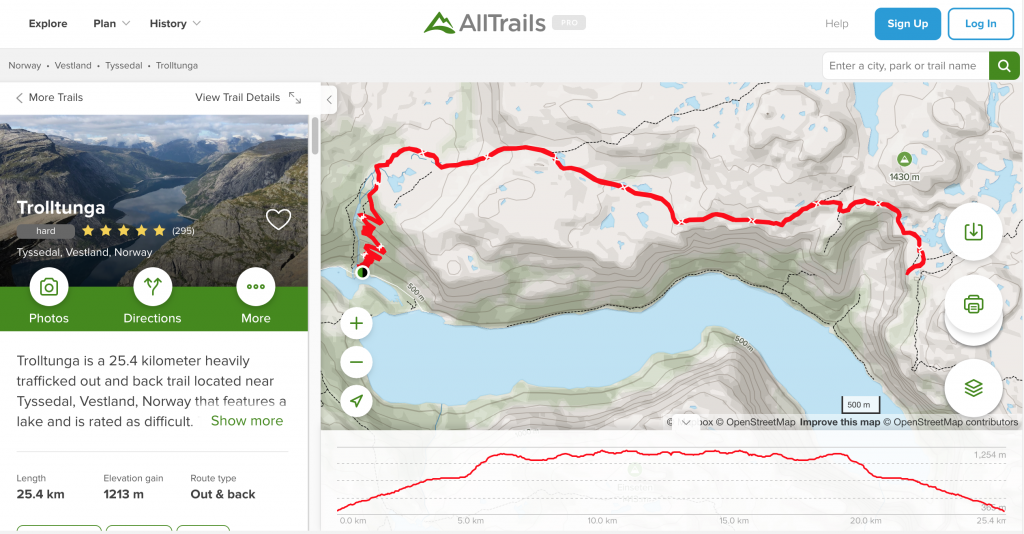
The ledge has become legend in recent years for its iconic views and the challenging hike required to reach the top. The route is 25km, there and back, over an elevation gain of 1,213 metres.
The terrain is challenging with many steep rocky verges and no places to stop along the way to rest and get refreshments. I would describe the Trolltunga hike as difficult.
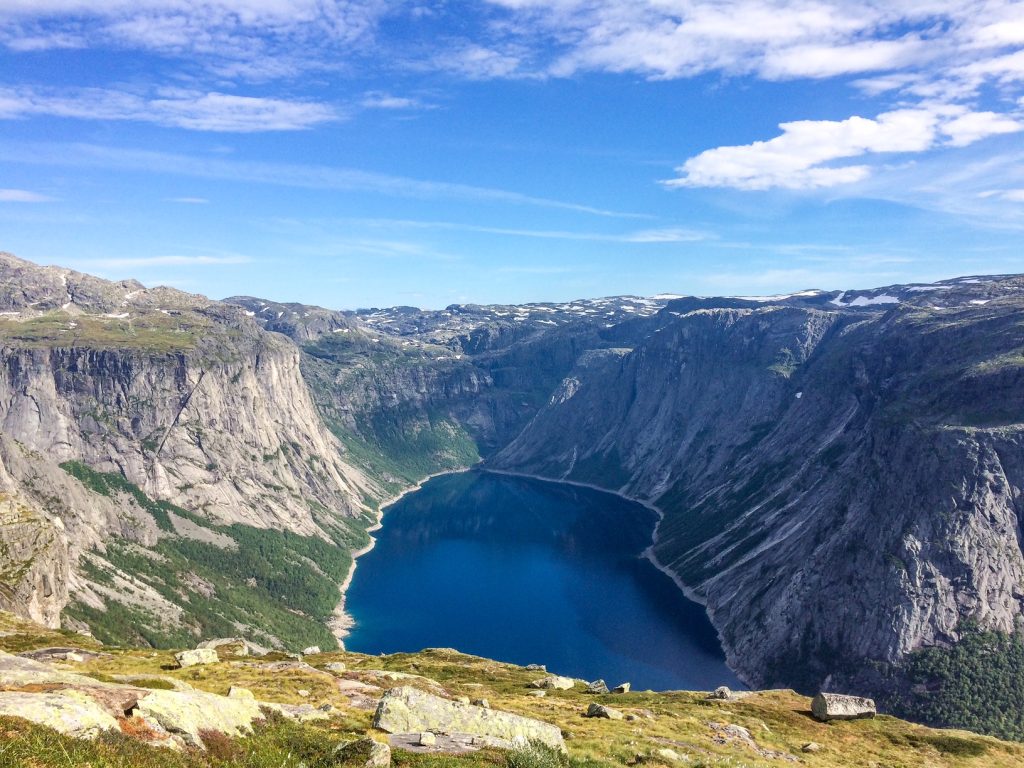
That being said, the reward at the top more than makes up for it. The views are simply astounding. The ledge sticks out from the side of a sheer mountain edge and hangs 700 metres above the piercing blue lake called Ringedalsvatnet.
Although it may look like a fjord, this section of the valley isn’t actually connected to the sea. However, it still has many of the famous glacial features that the Norwegian Westfjords are famous for.
2. Where Does the Trolltunga Hike Start and Finish?
As mentioned, the Trolltunga hike is an out and back trail. This means you must walk up to the Trolltunga viewpoint, which essentially marks the halfway mark, before turning around and walking back down again.
As with other hikes in Norway (see Pulpit Rock) the starting point varies slightly depending on your choice of transport (see below for how to get there). The main town near the hike is at Tyssedal. However, Skjeggedal is the main trailhead with a parking lot and visitor’s centre.
Skjeggedal, beside Vetlavatnet lake, is where most people begin the hike. The trail begins here and passes up through the forest or, depending on which route you take, up a ruthless set of tarmac switchbacks on the road, and takes you up the side of the valley.
This first stage isn’t particularly exciting and it’s pretty tough going. The path then emerges at another smaller carpark, called Mågelitopp, where some choose to start the trail if they have pre booked a space to park their car.
As far as I could make out, no busses or public transport go to Mågelitopp. It’s a small carpark and fills up quickly. It’s also very expensive.
My advice would be to park at Skjeggedal, or take public transport there, and begin your Trolltunga hike from this point (see below for more info).
3. How Long Does the Trolltunga Hike take?
As discussed, this depends on where you start your hike from. Starting from Skjeggedal, expect to be walking for 6-8 hours to get to Trolltunga. After spending a couple of hours admiring the views, your walk back should take about 4 hours.
Clearly, this is a very long and tough hike to do in a single day. You have to start early in the morning and most people choose to walk in summer for the long daylight hours and good weather.
I saw lots of people camping near the base of the hike or staying in the mountain lodges at Skjeggedal to allow them that early start.
I would recommend you make use of Norway’s freedom to roam act which allows you to wild camp in any of their nature areas and National Parks. This means you could then split the hike over 2 days.
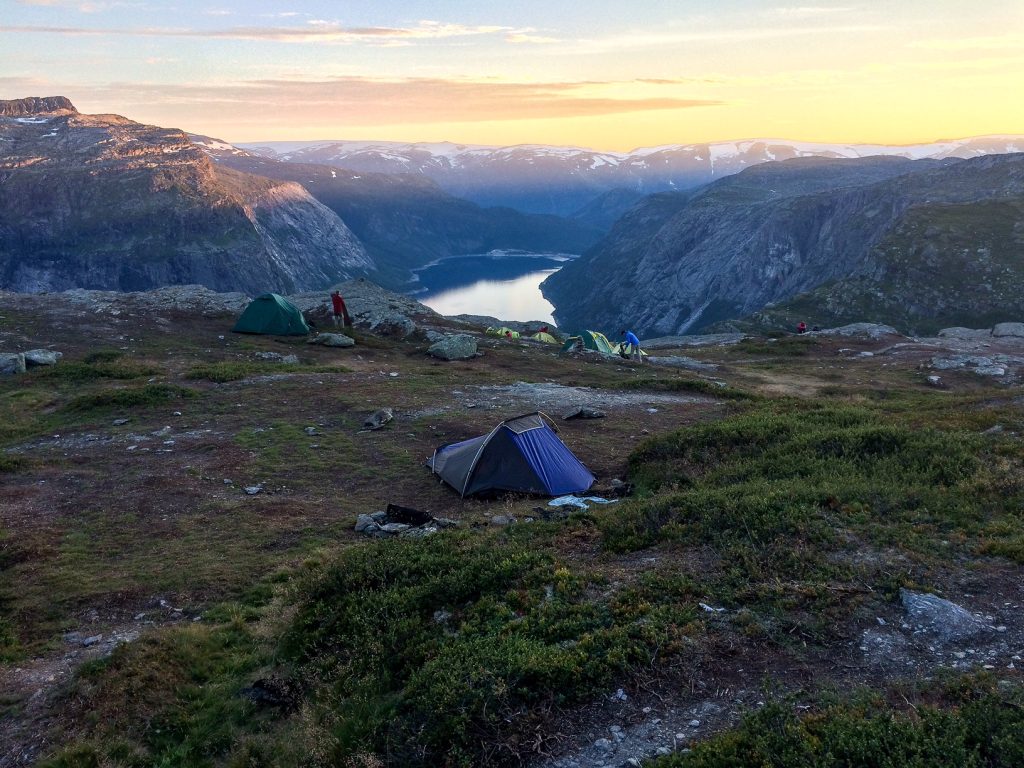
Camping near the top of Trolltunga, watching the sunset over the mountains and walking on the ledge alone at sunrise, is an incredible experience. I see photos of people queuing up at the Troll’s Tongue often; but when you stay overnight, there are only a few other campers with you and this can be completely avoided.
It’s very quiet and most people will have left so you can really appreciate the beauty and tranquility of the area alone.
4. What is There to See on the Trolltunga Hike?
The main feature of the hike is of course the Trolltunga rock. But, the rock isn’t the only amazing thing on its own, the spectacular landscape around it is just as important!
Many of the surrounding mountains tower over the Ringedalsvatnet lake and for months of the year their peaks are still tipped with snow. On the horizon you might be able to make out the icy shine of the Folgefonna glacier system in the Hardanger region.
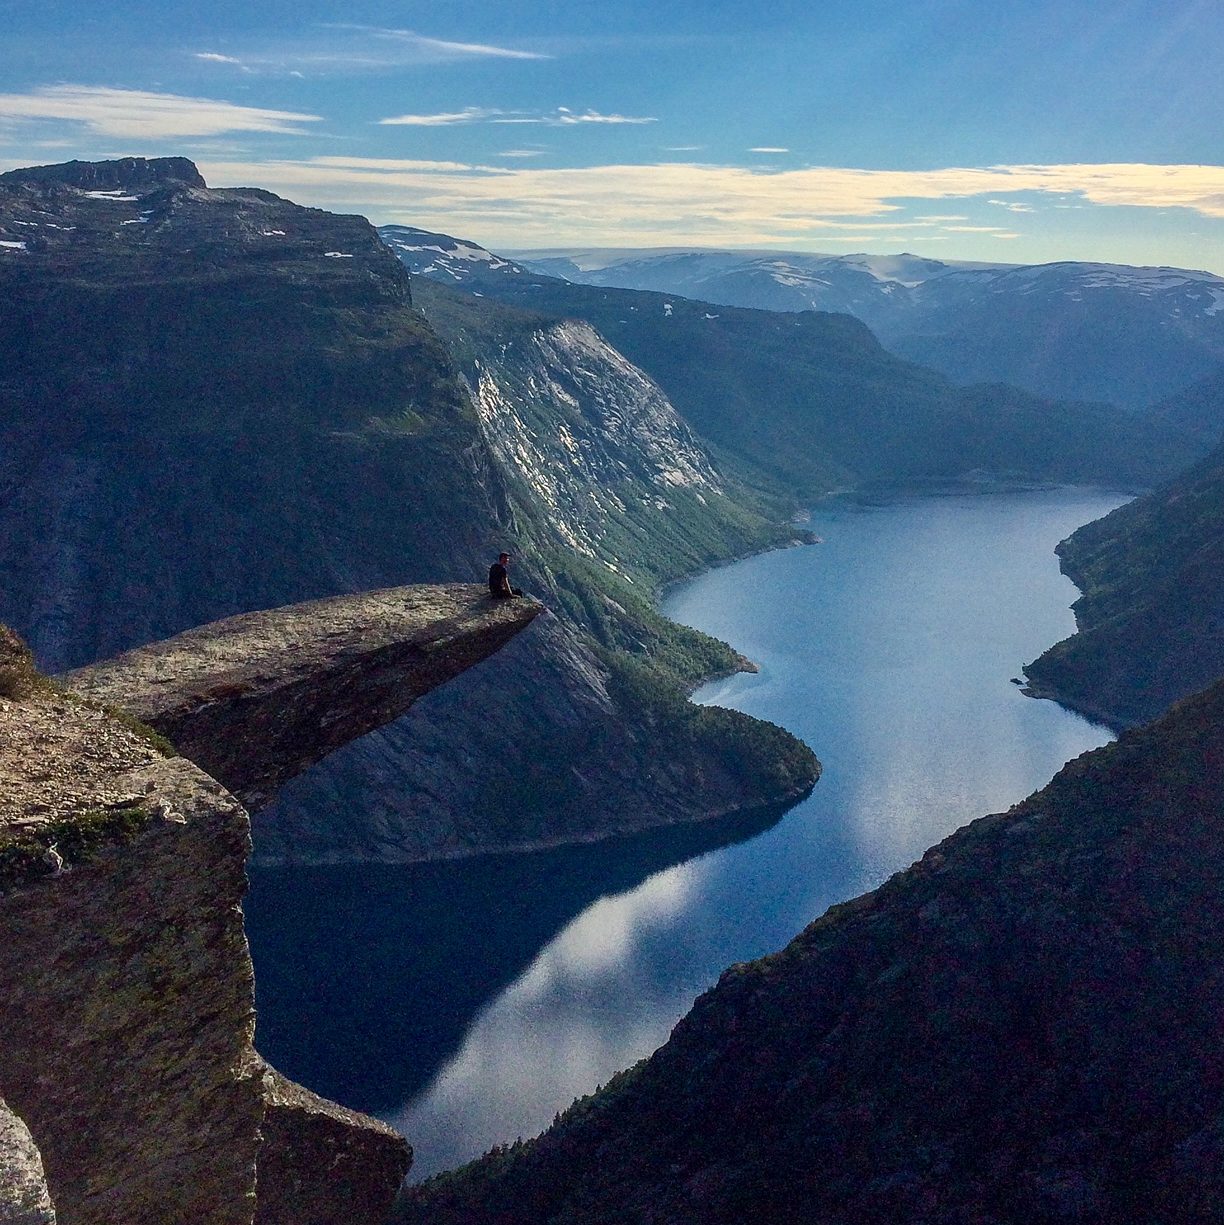
The cliff is formed from Precambrian bedrock during an Ice Age about 10,000 years ago. The glacier would have reached right up to the top of the cliff and carved out the valley below. Meltwater from the glacier froze in the cracks and crevices of the mountains causing jagged lumps to break off which formed all the angular shapes.
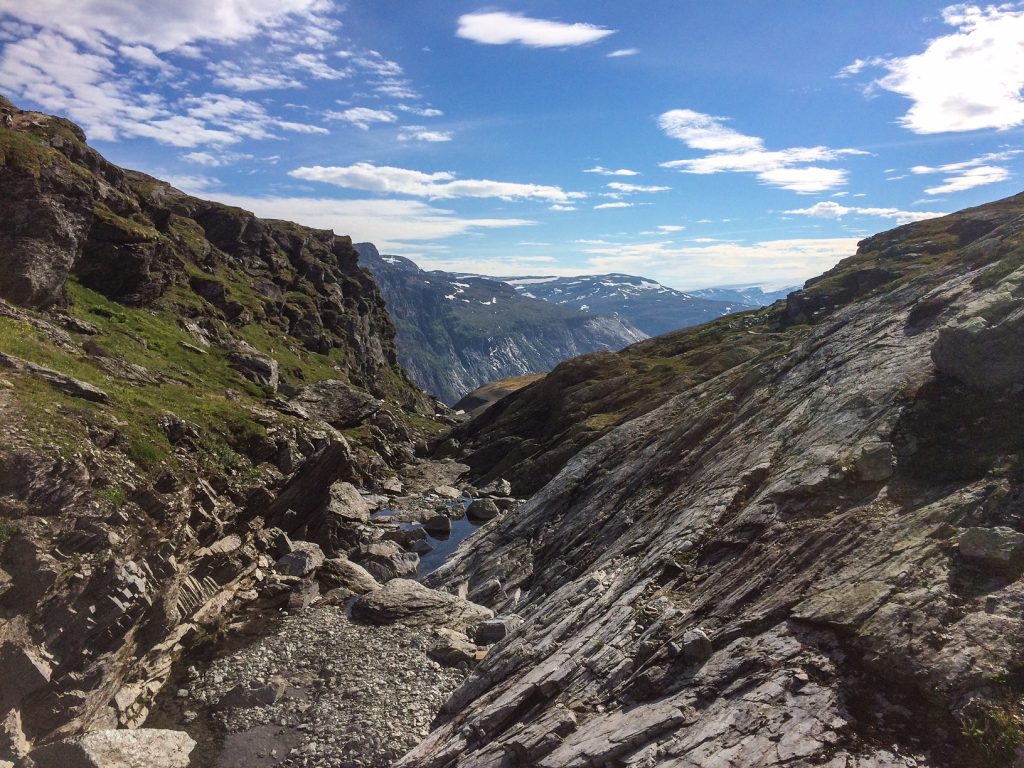
Therefore, many of the features in this landscape were formed by glacial action. Keep an eye out for glacial features such as erratics (lumps of rock deposited by glaciers), striations (scratches and gouges in the rock from the moving glacier), hanging valleys (waterfalls), u-shaped valleys, and glacial lakes.
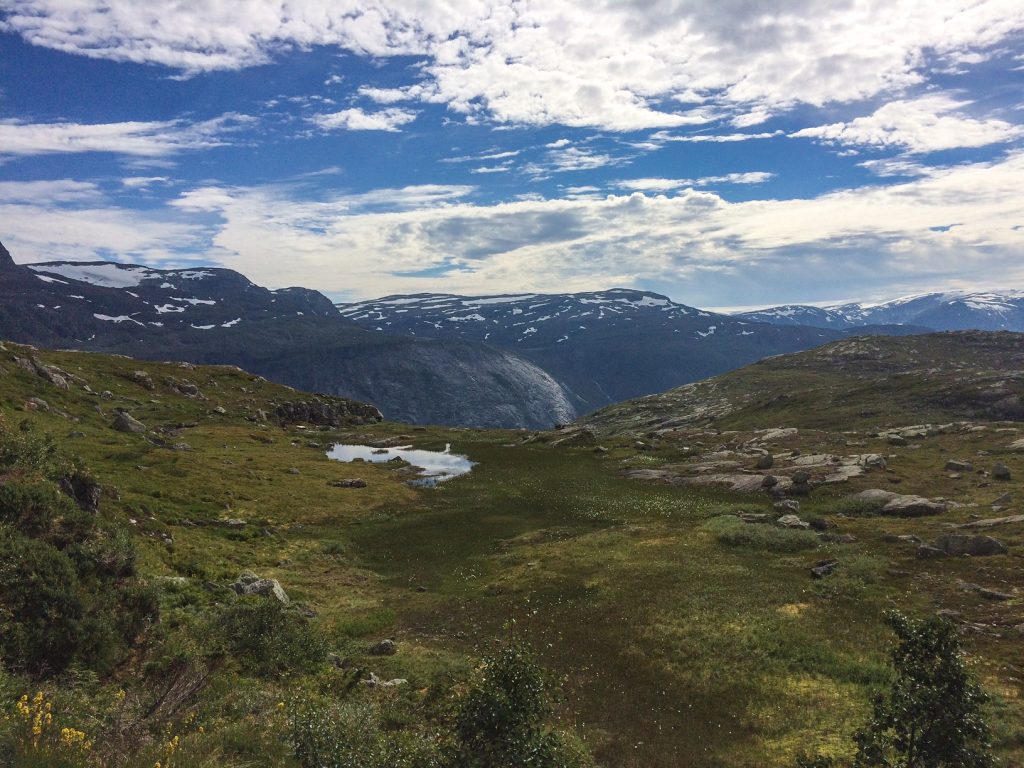
The lower part of the hike crosses over a landscape of smooth granite, with marshes and pools forming amongst the rock. The track passes creeks, waterfalls, boulder fields, and some small streams that flow from the mountains down into the valley.
After a difficult initial 6-8km, the first views of Ringedalsvatnet are simply staggering. The enormity of the valley is incredible. From this point of the walk, up until reaching Trolltunga, the views are magical.
5. How to Get There?
Like many other hikes in Norway, their isolation and wilderness works both for and against them. In one sense, the reason the landscapes are so outstanding is because they’re so remote. In another sense, this makes them very difficult to get to.
Still, I’d take that trade off any day.
Flights
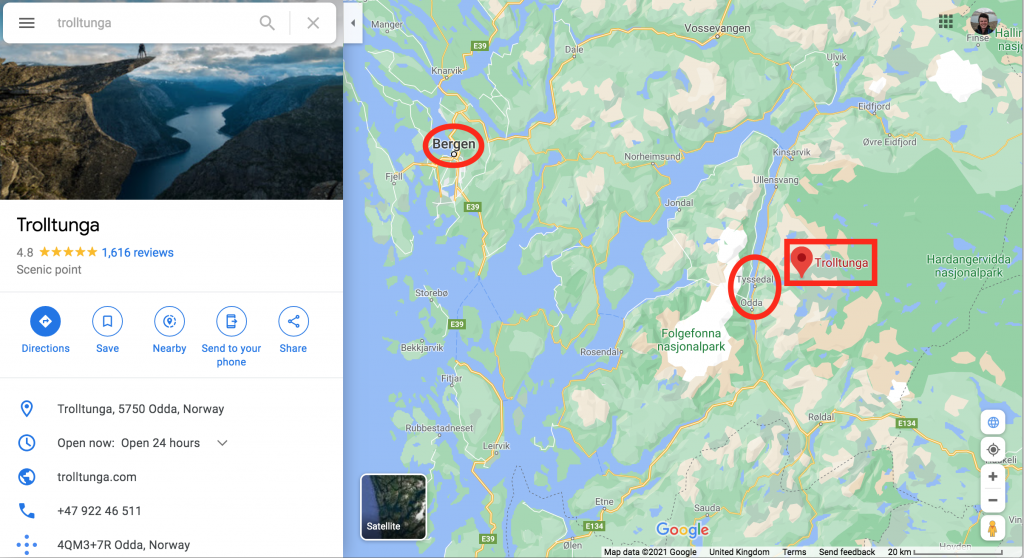
The closest city to the Trolltunga hike is Bergen. A lovely fishing settlement and somewhere that is well worth visiting in its own right. Bergen Airport has international flights and can be reached from many major cities in Europe. See Skyscanner for flight options.
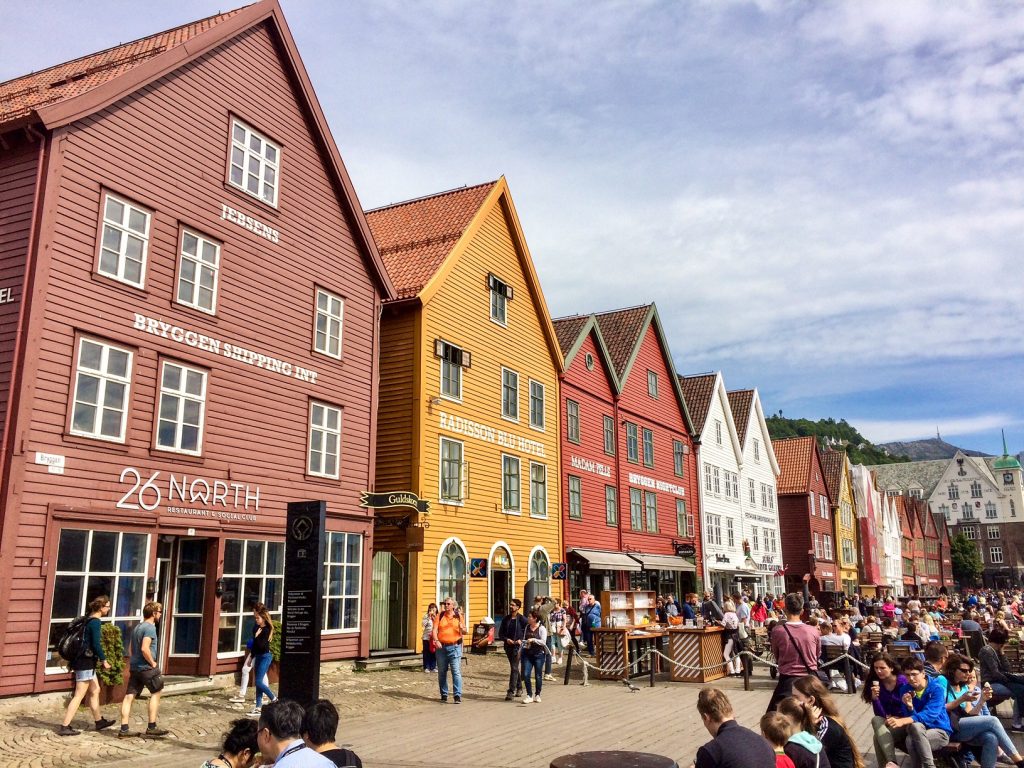
Spend a couple of days in Bergen; climb up Fløyen to get a beautiful panorama over the city, or hop on the wonderful Fløibanen funicular. Visit the Bergen fish market and taste some of the fresh Scandinavian seafood. Then amble along the harbour admiring the array of multicoloured houses that line the docks and wharves.
Bus
From Bergen, catch a bus to Odda, a mountain town sandwiched between the Sandvinvatnet lake and a long inlet of the Hardangerfjord. There are a few busses a day that run between Bergen and Odda, see Skyss for options.
Depending on the time of day and the season, you can then catch a shuttle bus to Tyssedal or the higher car park of Skjeggedal. Odda to Skjeggedal is NOK 150 and, if you’re parking at Tyssedal, there’s a shuttle bus to Skjeggedal for NOK 100.
See here for shuttle bus bookings.
See the Trolltunga website for more details on shuttle bus timetables.
Car
Driving is the easiest option and it may be worth hiring a car in Bergen. However, the car parks are expensive at Trolltunga. There are 3 car parks to choose from: P1 in Tyssedal, P2 Skjeggedal (the main trailhead), P3 Mågelitopp.
P1 in Tyssedal has 220 parking spaces and costs NOK 300 to park for the day. It is a long walk up the road to the main trail head. If parking here, it’s worth taking the shuttle bus to the trail head at Skjeggedal (see above).
P2 in Skjeggedal has 180 parking spaces and costs NOK 500 to park for the day. This is the main trail head and starting point for most hikers.
The final place is P3 in Mågelitopp. It has 30 parking spaces and is reached via a private toll road and costs NOK 600 per day. It must be pre-booked, unlike the other parking lots where tickets can be bought from the machine on the day. This is the closest to Trolltunga and cuts out a lot of the elevation you have to hike.
See the Trolltunga website for more details on parking.
Taxi
Taxis are very expensive. You have to book in advance and it costs NOK 400 to get from Tyssedal to Skjeggedal – a journey that takes 10-15 minutes to drive and NOK 100 on the bus! If you want to get to Mågelitopp, and skip out the first section, that’s another NOK 400, and they’re not always allowed all the way to the top!
6. What to Pack?
The Trolltunga hike involves a lot of physical exertion. You want to keep your equipment as light as possible whilst ensuring you’re protected from the changeable mountain weather. As there are no places to get refreshments along the way, you should also pack enough food and water for the journey.
It’s important to pack layers and to wear warm clothing. There is often snow in this region right up until mid summer. Pack a warm fleece and a hat and gloves – even in summer.
If the weather is going to be particularly sunny, bring sunglasses, a hat, and suncream to protect from the high UV rays on the exposed mountain ridges.
Hiking boots may be too cumbersome for a hike like this. The trail involves a lot of walking on solid rock and you’re likely to give yourself blisters. I go for trail running shoes instead which are lightweight, comfortable, and grippy.
See also:
Multi-Day Hike Kit List
Day Hiking Gear Essentials
Make sure you bring enough water for the hike, 1.5-2.0 litres per person, and snacks for the journey. Pick up some nuts, trail mix, jerky, dried fruit, or Norwegian hiking chocolate called Kvikk Lunsj before you set off. Carry plenty of food as there’s nowhere to restock along the way!
You can fill up your water bottle from the mountain creeks and streams. Although it may look clean, I never drink straight from these water sources. I use a water filter to make sure the water is safe to drink first!
If you’re camping, try to bring the bare minimum to keep your load light. A small tent, a comfortable sleeping mat, a 3-season sleeping bag, and a single set of clothes will do.
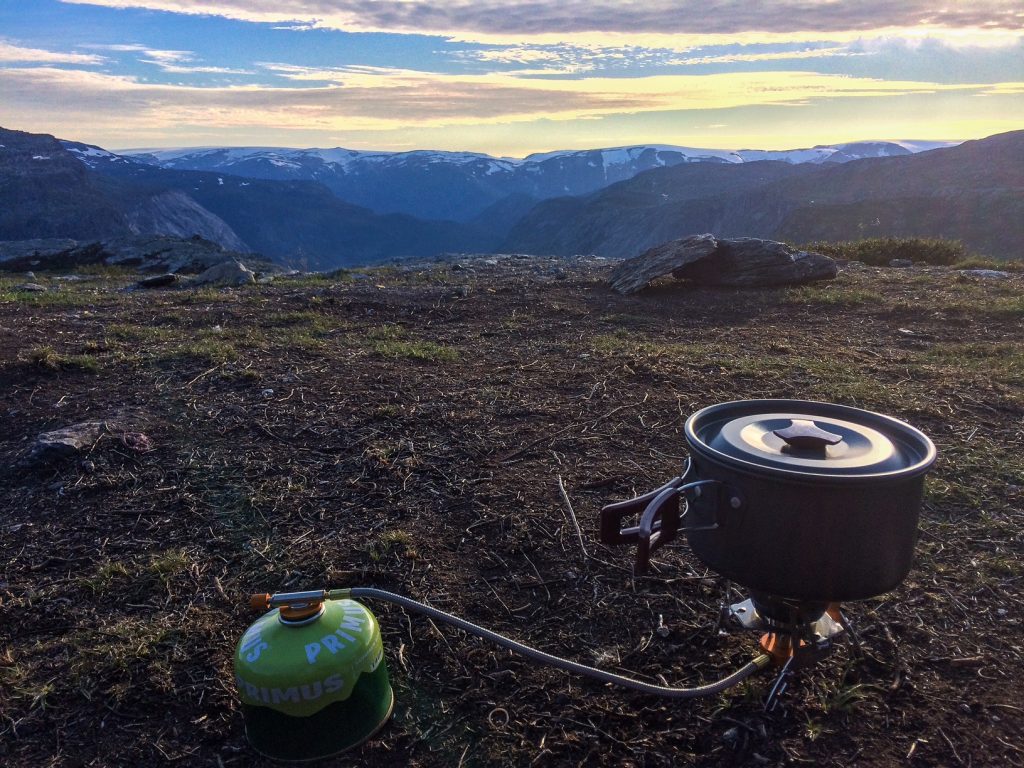
Although it adds weight, I also recommend bringing a stove with you to cook some food.
One of my favourite memories was making a hot chocolate and watching the stars spread into the night sky. Then the following morning, making a coffee and some porridge whilst watching the sun rise over the mountain scenery was just incredible!
Before You Go
Thanks for reading my travel guide on the Trolltunga hike in Norway. If travel guides like this interest you, head over to my blog page to find out more!
If you’re new to Walk Wild, check out the About Me page to learn who I am and what made me want to be a travel writer.
Please comment below, let me know what you think and if there’s anything else you want information on!
Follow me on Twitter, Instagram, and YouTube to see out more.

