10 Tips for How to Stay Safe When Hiking
6 Minute Read
Hiking safety is something that shouldn’t be taken for granted. As my Uncle Dave likes to say: If you fail to plan, you plan to fail. It’s the same with hiking. There are preparations you can, and should, take to keep yourself safe when out on the trail.
Most of these tips involve a little planning before your hiking trip, however there are also plenty of things to do when out on the trail that can help you stay safe too. The more you hike, the better your knowledge and experience becomes. Then, over time, a lot of this will become second nature.
To get you started, here are my top 10 hiking safety tips:
- Tell Someone Where You’re Going
- Plan Your Route Thoroughly
- Pack a Medical Kit
- Limber Up
- Get Travel Insurance
- Keep in Contact
- Check the Trail and Weather Conditions
- Bring Suitable Hiking Gear
- Carry Spares
- Ease Yourself In
This page contains affiliate links. This means I make a commission if you buy a product I have recommended (at no extra cost to you). All recommendations I give are genuine and my own. Thanks for the support!
See also:
Multi-Day Hike Kit List
Hiking Food For a Week
Day Hiking Gear Essentials
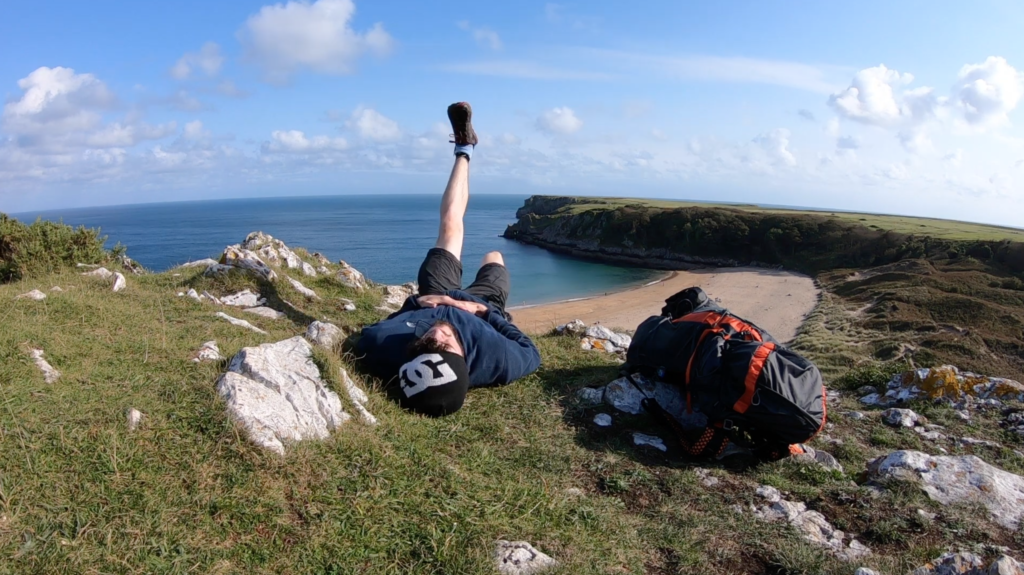
1. Tell Someone Where You’re Going
Ever heard of the American adventurer Aron Ralston? His story has been made into a Hollywood film called 127 Hours starring James Franco. He ventured into the Utah wilderness without telling anyone where he was going or that he’d even gone hiking at all. A terrible accident happened and he fell, trapping his arm. Days went by with no one coming to his aid. Aron was forced to do the unthinkable and cut his own arm off to escape, thus saving his life.
Despite this being an extreme example, the principle remains the same. Aron went out hiking without alerting anyone of his intentions. If you’re planning a solo hike, always ensure you’ve told a close friend or family member where you’re going and what your itinerary is. Also give them notice of when you plan to return!
Alternatively, you can go with a walking buddy to improve your hiking safety. It’s not always possible to find someone to go with, and hiking solo can be an incredible experience, so it’s good to get into the habit of letting someone know your trip details instead.
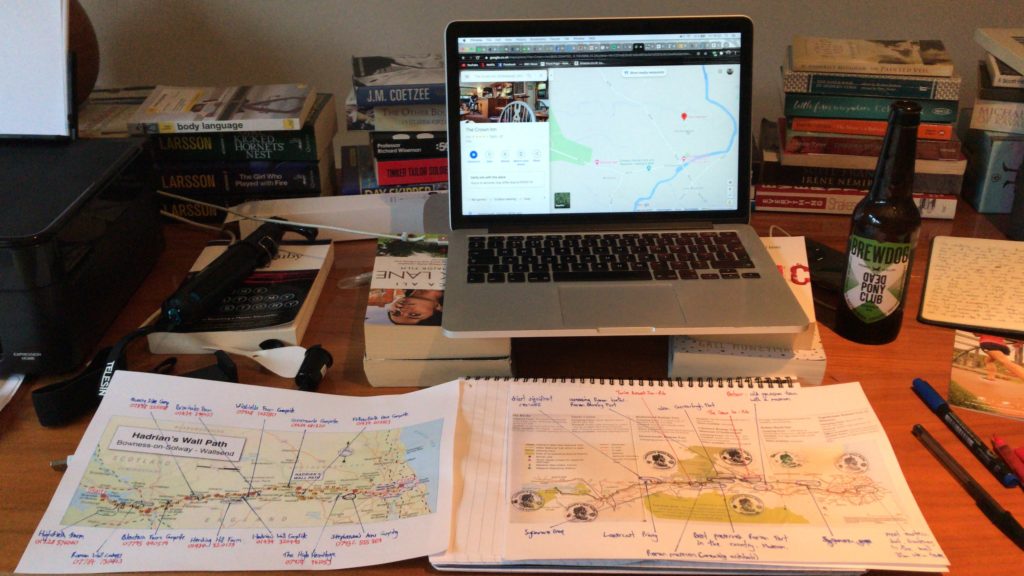
2. Plan Your Route Thoroughly
Good research can make or break your trip. It’s an amateur mistake to blindly head out into the wilderness without a clue of where you’re heading. Even if you’re going on a trail hike, where you’ll follow a well-signposted path, it can still be worth researching the route a little before you go.
It’s important to know what you’re up against. Where the difficult sections are, where the best place to stop for water or food are, where you can camp, where the best views are. Factoring in all these details can help you plan a camping trip that runs smoothly.
It’s also good to consider how to get to and from the trail heads. If it’s a loop walk you’re doing, then the start and finish point will be the same place. However, if it’s a point to point hike, how are you planning on getting there and back? A little pre-trip research can solve these issues and make sure you maximise your hiking safety.
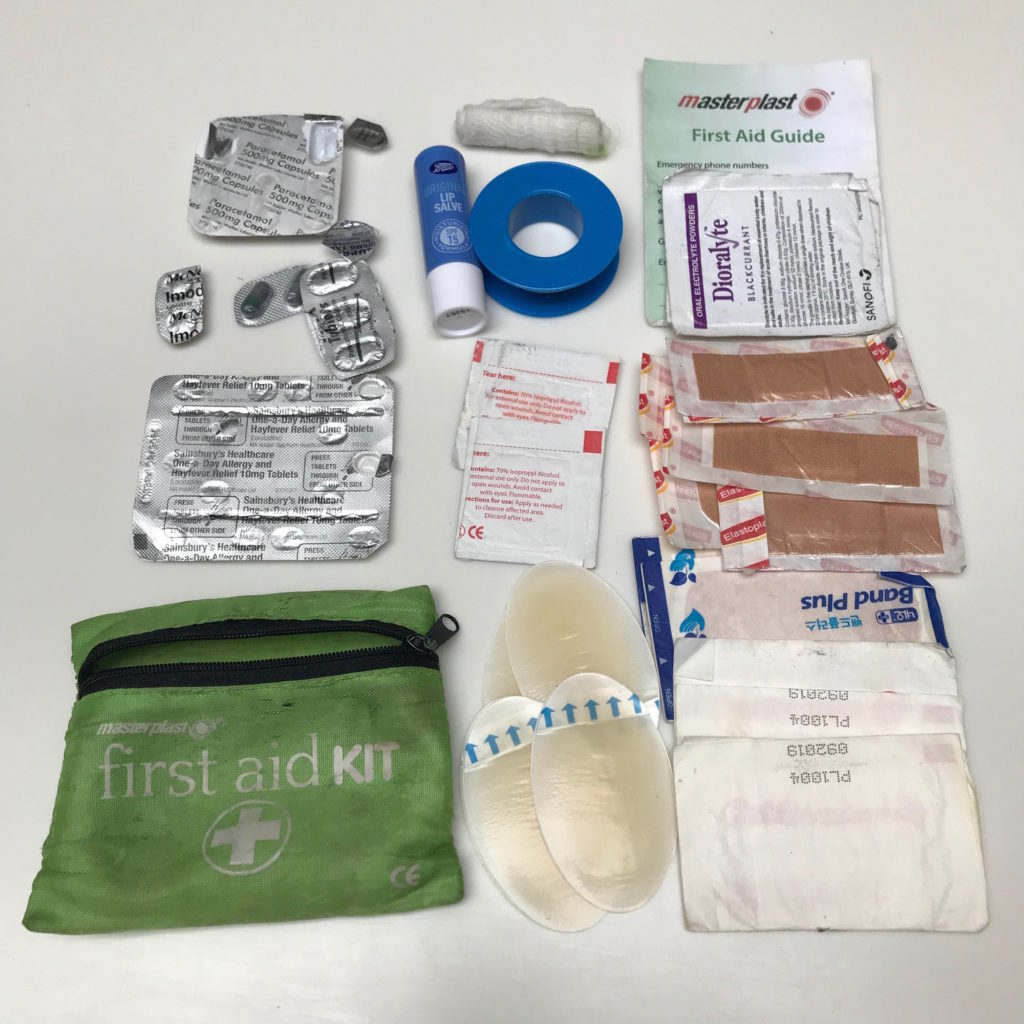
3. Pack a Medical Kit
Patching yourself up and looking after your ailments when on the trail is a key to your hiking safety. It’s possible to buy a pre-packed medical kit which is a good starting point, but I’d advise you to alter it to suit your needs anyway. Take out anything you think will be redundant and add in extra medical items to suit your needs.
Here are some of the items you should consider including in your medical kit:
- Paracetamol – or another painkiller
- Ibuprofen – or another anti-inflammatory
- Hay fever/allergy tablets
- Bandages and gauze
- Lots of plasters (waterproof and durable) – various sizes
- Blister plasters
- Bandaging tape
- Alcohol swaps
- Vaseline or any soothing lip salve (make sure it includes SPF)
- Imodium – or diarrhoea relief
- Rehydration salts
Along with this, have a think about any underlying joint/tendon issues you might have. Perhaps you need an ankle strap or a knee support. It’s better to bring it and not need it rather than leave it and be in pain for the whole hike.
4. Limber Up
For years I was guilty of neglecting this hiking safety tip. I’d often do a lazy warm up or no warm up at all. Over time I realised that lots of the niggles and discomfort I had in my muscles and joints must be because I wasn’t limbering up properly.
Once I addressed this and started doing a proper routine before each hike, it markedly improved my fitness and reduced my soreness. I now do 5-10 minutes of stretching before and after each hike to ensure I look after my body and can move comfortably.
I recommend focusing your stretches on you legs and hips. Then, if you’re carrying a backpack, make sure you include some deep stretches of your back and shoulders. I also get “hiker’s neck” occasionally, so now I make sure to include this in my stretching routine too.
In preparation for the trail you can also look into doing some Yoga. This is excellent for your flexibility and core strength. When I started doing Yoga in the days leading up to big hikes, it significantly improved my fitness and performance on the trail.
To find some stretching and Yoga tutorials, simply type “hiking yoga” or “hiking stretches” into YouTube and follow along with the videos to learn some new tips. Like most people, I’ve found Yoga with Adriene to be of amazing help!
5. Get Travel Insurance
Going away without any travel insurance is a seriously dangerous thing to do. Not just because of the financial cost, but also because of the impact it can have on your health and safety if you aren’t sufficiently covered.
Depending on what kind of hiking you do, it can range from relatively safe to some of the most extreme adventures. Often high-altitude hiking, such as in Patagonia or the Himalayas, requires a special kind of insurance as the package must cover helicopter evacuation from altitude sickness or if you fall and get injured.
It sounds very dramatic but it’s a rare thing to happen. Still, you want to make sure you’re covered for your piece of mind and it’s extremely important to get insured to maximise your hiking safety.
As an adventure traveller, I’ve always used World Nomads. I believe they provide the most comprehensive cover at the best price. It’s easy to sign up and they specialise in creating insurance packages for travellers.

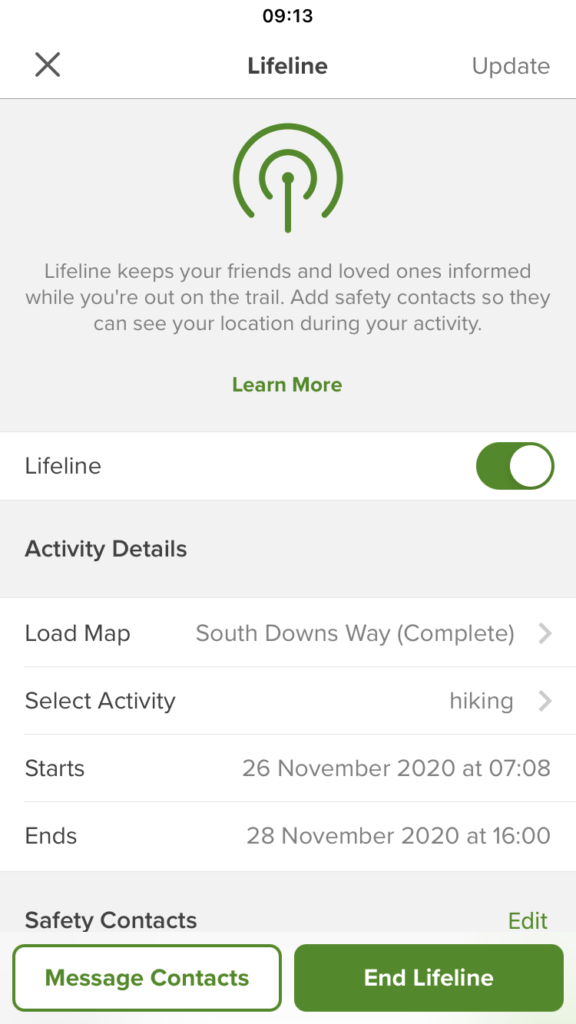
6. Keep in Contact
If something does go wrong, who are you going to contact and how? This is often one of the biggest issues of going into the wilderness. The lack of a safety net if something happens and you can’t reach help.
For years people used Walkie Talkies with pre-programmed frequencies to contact other hikers or emergency services should you need help. They have a long charge and are very durable for hiking trips.
Now, it’s more common for the average person just to use their smartphone. The big drawback here is the poor charge on smart phones and their lack of coping with harsh conditions.
Another option is to take a GPS tracking device with you. There’s a button you can press if you’re in an emergency that will alert local authorities and provide them with your location. This is likely to last the longest without running out of charge and is one of the best options to ensure your hiking safety.
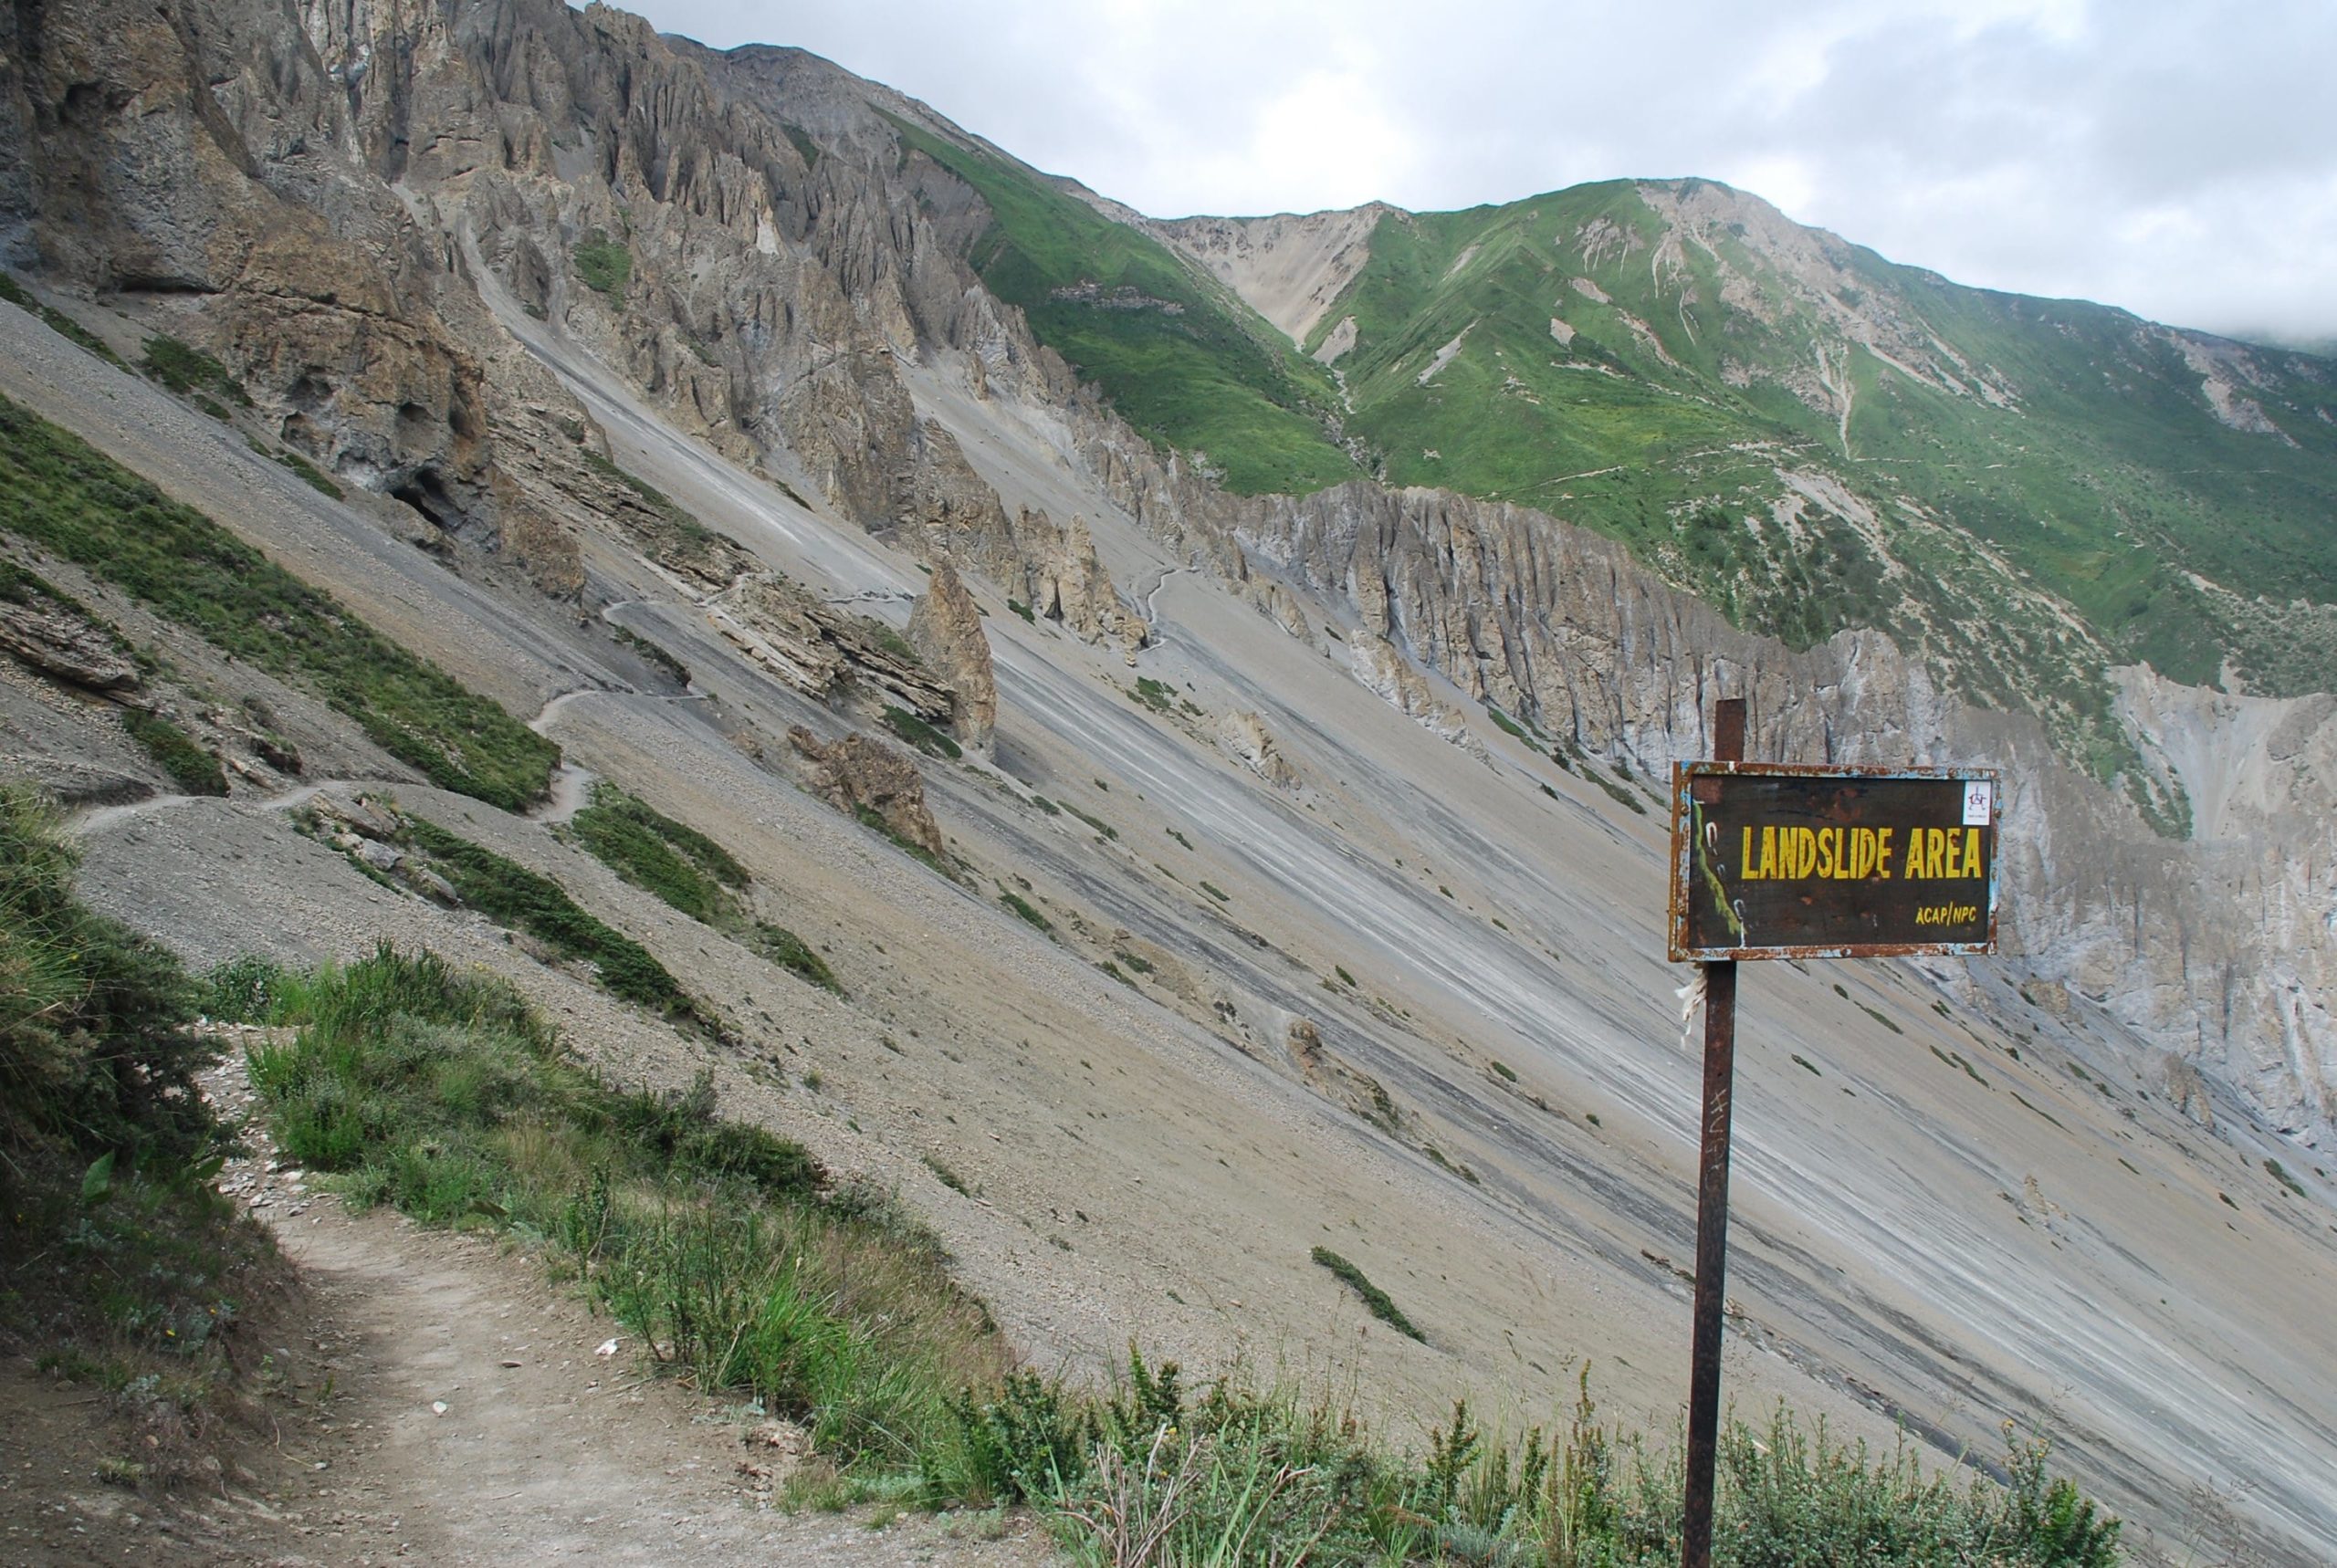
7. Check the Trail and Weather Conditions
Is the trail open? Is the high-pass blocked off by snow? Has the river crossing been washed away by floods requiring a 4-mile detour to another bridge?
All these things can and do happen when out hiking. If you’ve checked the conditions in advance you will know what you’re going to be up against. This helps save you time and effort as you can plan for how to get around these issues before they arise.
When I went to Japan I knew I wanted to climb Mount Fuji. I checked in advance and saw it was closed for winter so I planned another hike in the area instead. If I’d made preparations to climb it then traipsed my way to the base of the mountain only to find the trail closed, I would have wasted a lot of time.
Checking the weather forecast goes hand in hand with this. Not only because it can help you decide what to pack before you go, but also because it can help with your trip organisation. If only 1 day in the week is going to have good weather, that’s the day you want to walk in a spot with the best views.
Also, from a hiking safety point of view, if you know the weather is going to be abysmal, it might be worth rescheduling your trip to another time!

8. Bring Suitable Hiking Gear
Starting with your shoes and socks, you must get your hiking footwear right. Don’t buy a pair of hiking boots the day before you go expecting to wear them in on the trail, your feet will blister to ribbons. Make sure you’ve worn your shoes in beforehand and wear the same socks you’re going to use when out on your hike.
Skip cotton, go for a synthetic blend that will wick away moisture from your clothing which reduces rubbing and makes all your material quick drying.
Dress in layers. Don’t bring one large bulky jacket with you. Have thin layers that you can zip on and off with ease. For example if it’s cold and rainy you might want to wear hiking trousers, a thermal top, a t-shirt, possibly a fleece, then either a waterproof jacket or a down jacket.
See also:
Multi-Day Hike Kit List
Day Hiking Gear Essentials
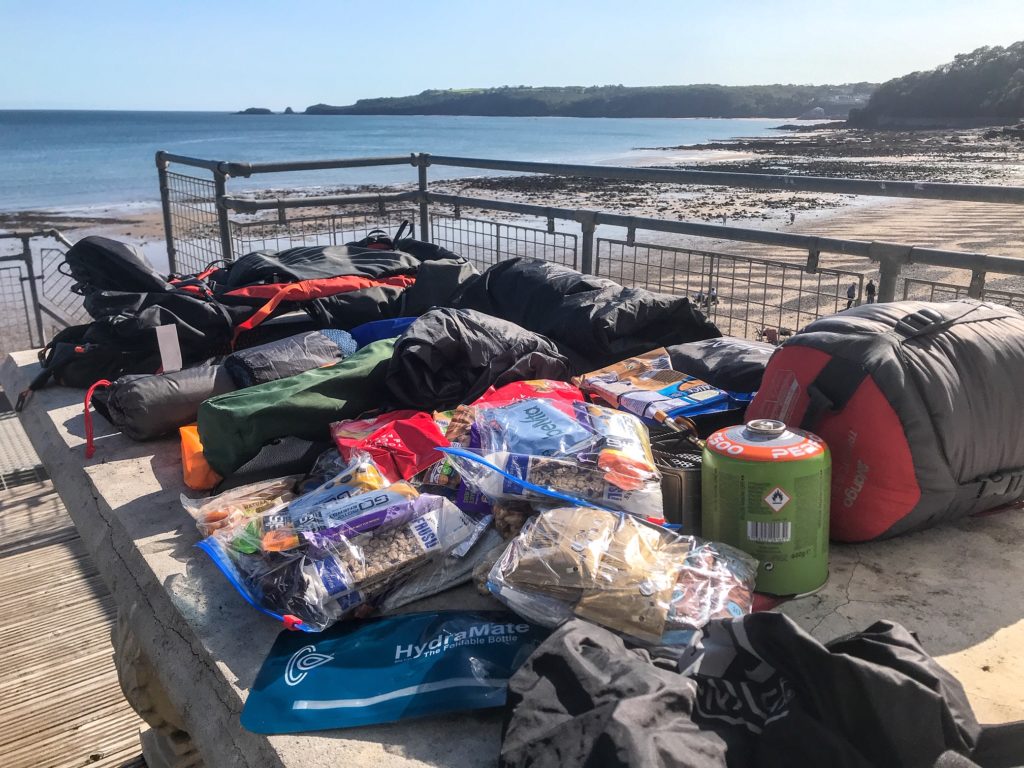
9. Carry Spares
To ensure your hiking safety you want to carry spares of all the things that matter. Bring spare food, more than you think you’ll need. It’s also good to bring emergency food that can be eaten without the need for cooking.
See also:
Hiking Food For a Week
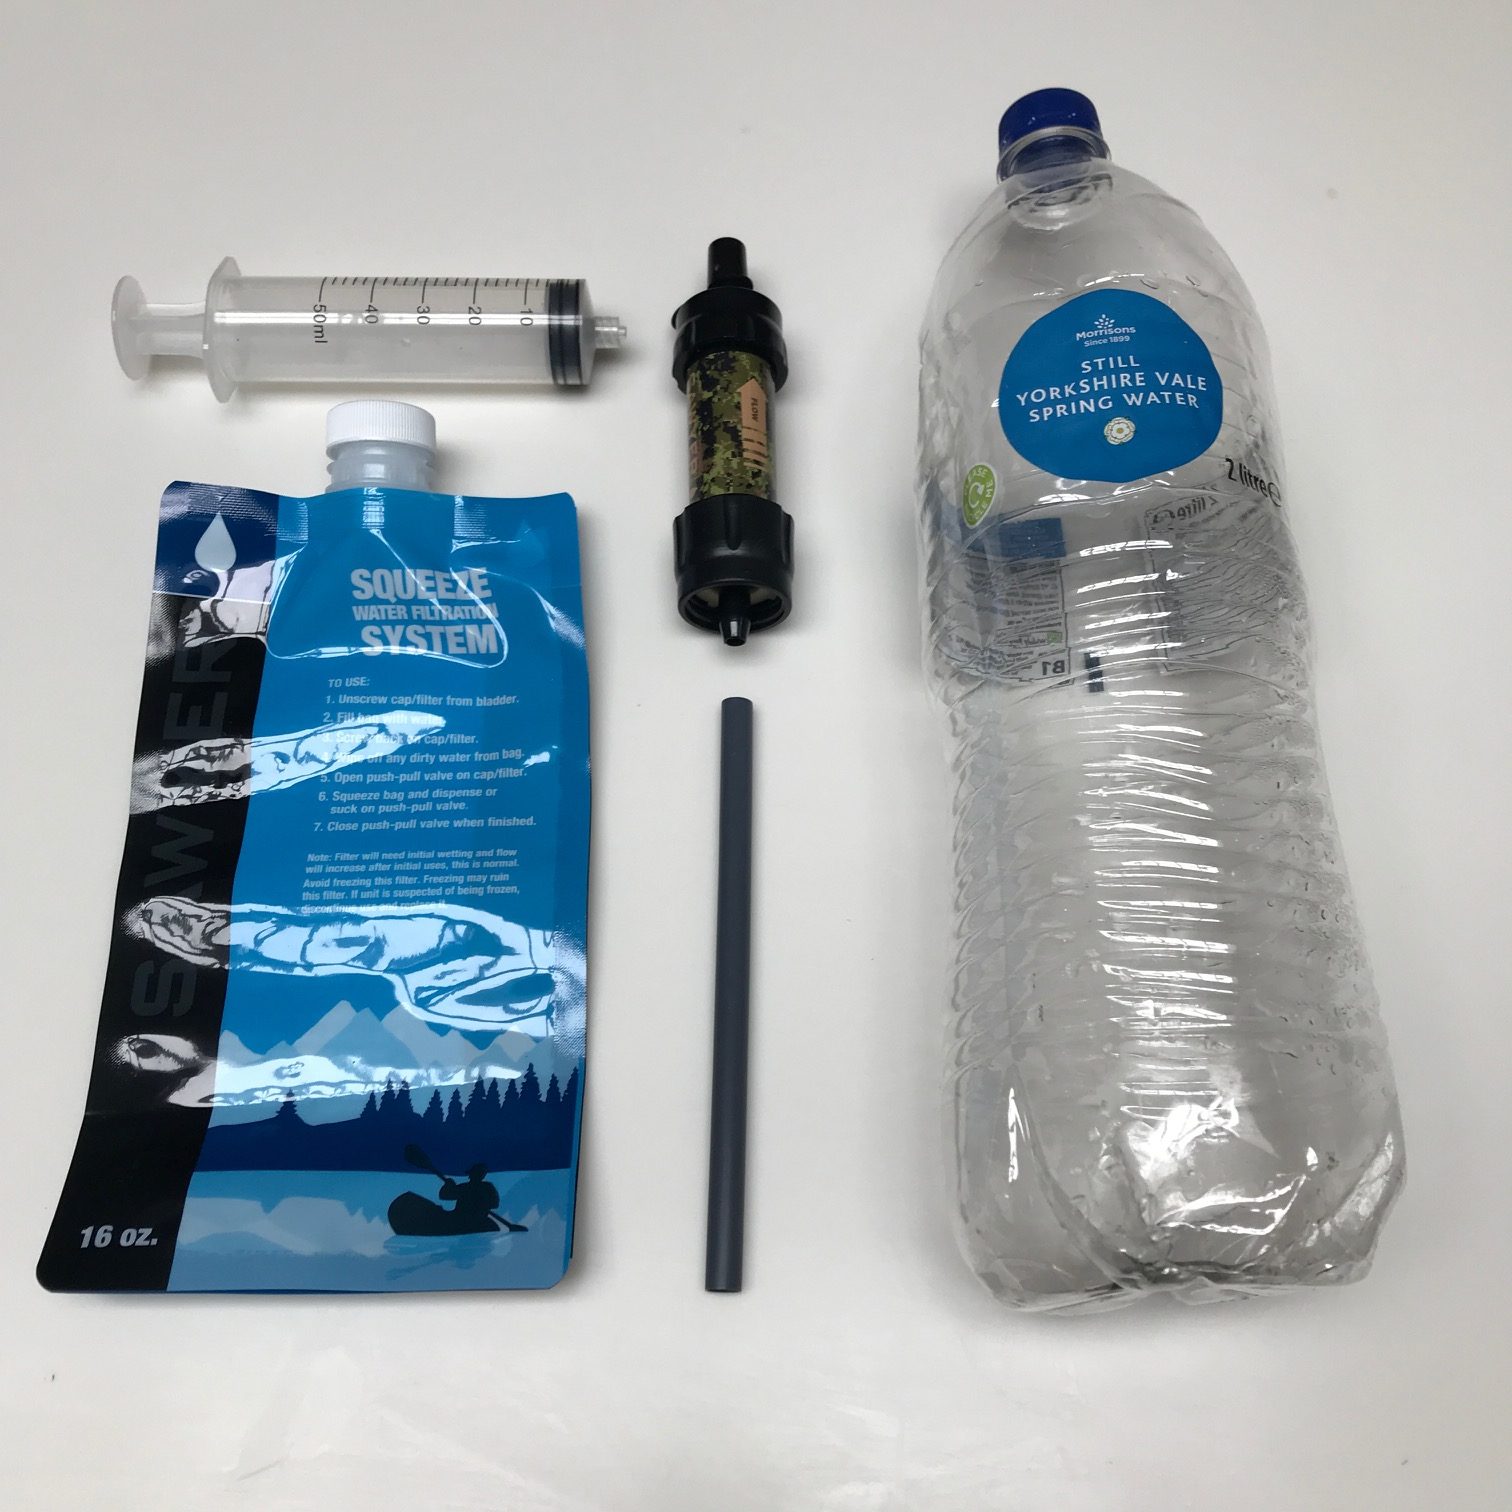
Bring plenty of water. At least 1.5-2 litres for a day hike. Carry extra if going overnight or bring a water filter with you to purify water when out on the trail. I find them much easier than purification tablets as it’s instant to use and doesn’t affect the flavour of the water.
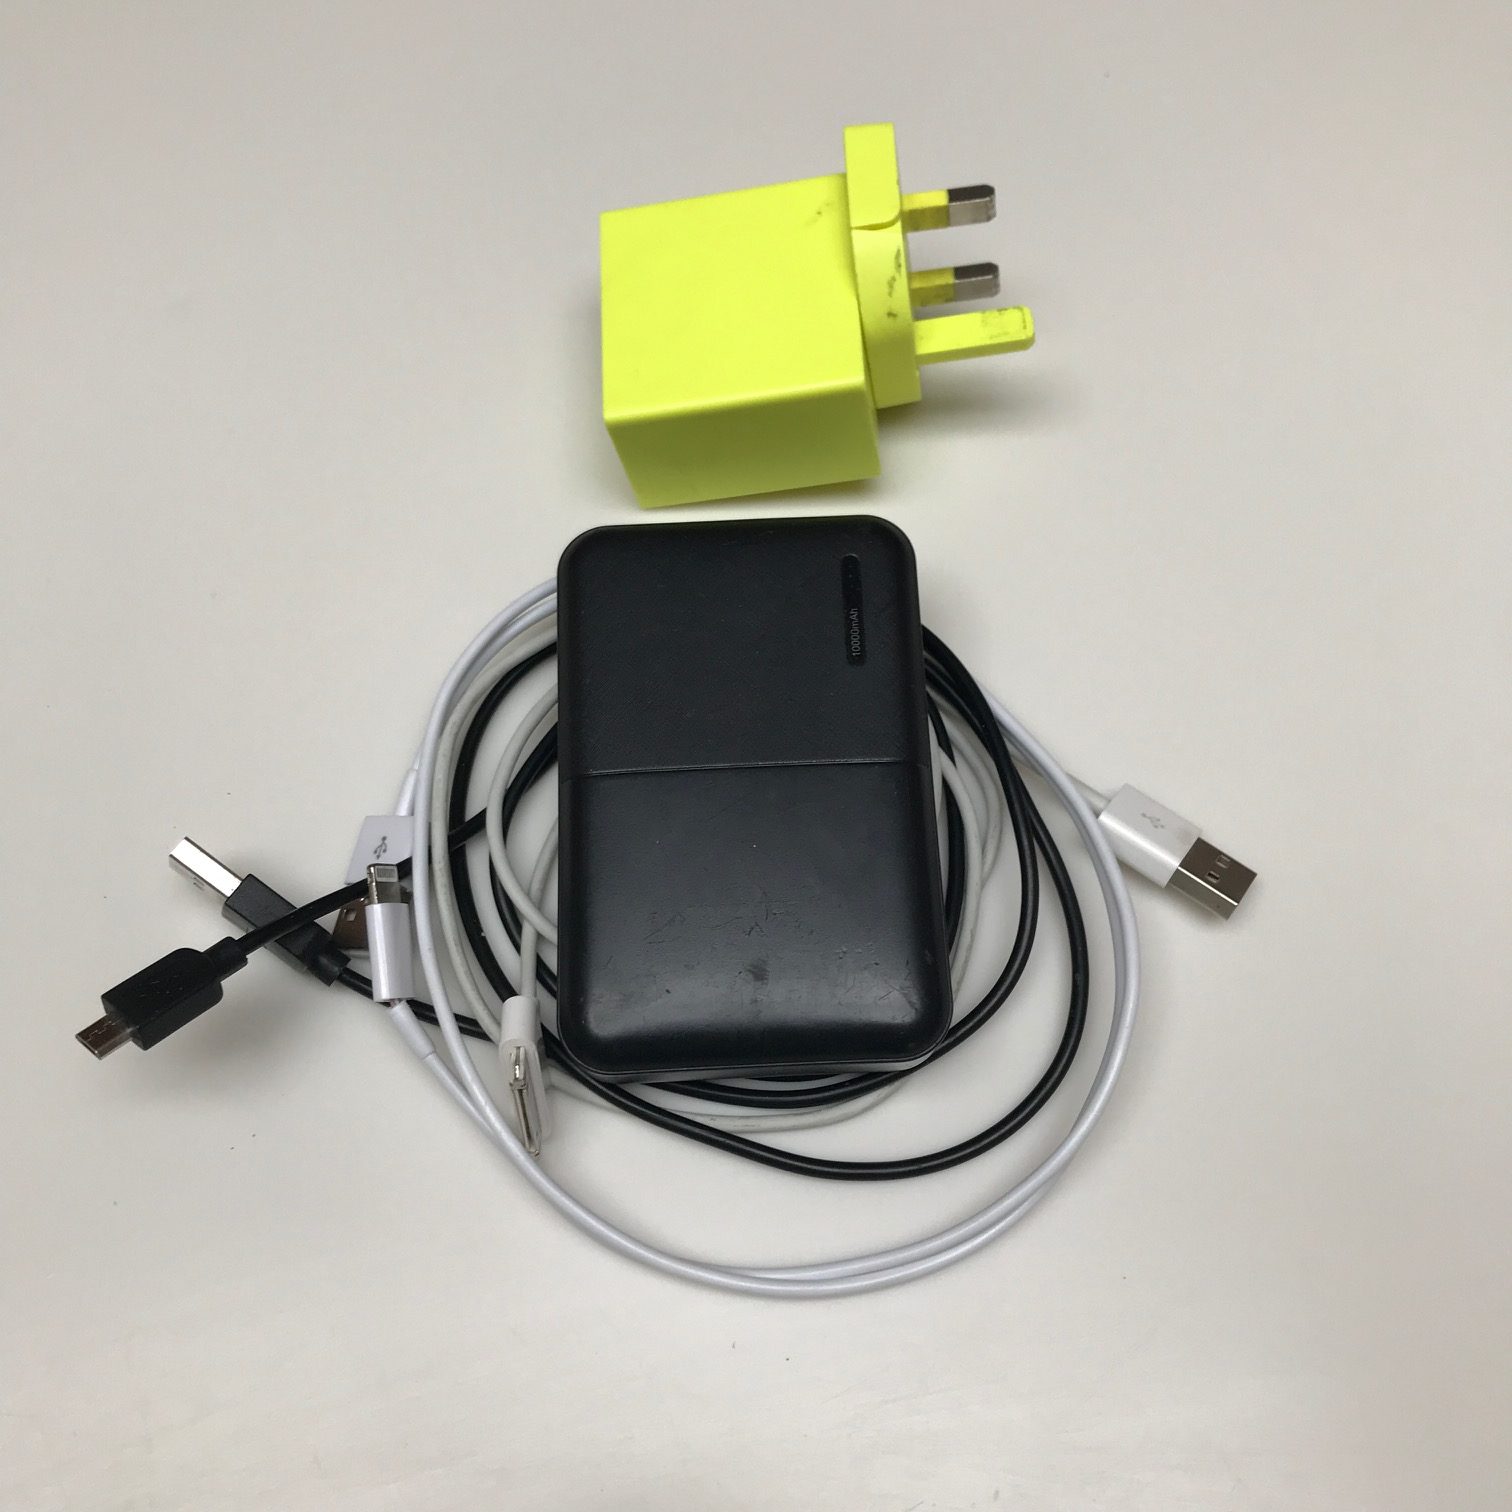
Carry a portable charger. You can use solar chargers but I’ve heard quite a few negative comments about them due to their weight and inefficiency. Whereas a good quality battery pack can charge your phone and camera numerous times.
10. Ease Yourself In
Don’t walk before you can run; don’t bite off more than you can chew; don’t jump in at the deep end, and any other platitudes you can think of that involve taking on a task before you’re ready.
There’s a lot to learn about hiking. You can’t be expected to know everything instantly. Knowledge takes time to accrue and only comes with experience. Don’t try to do an extreme, high-altitude, backwoods hike when you’ve never been further than your back garden.
If you do, you could seriously risk harming yourself or getting in trouble. Start with something familiar first, such as a shorter walk around a local hiking trail, then gradually challenge yourself more with each trip.
Reading blogs like Walk Wild is a good place to start. That way you’ll get info on how to hike and learn what to do to get the most out of your outdoor adventures!

Before You Go
Thanks for reading my top 10 hiking safety tips. If travel guides like this interest you, head over to my blog page to find out more!
If you’re new to Walk Wild, check out the About Me page to learn who I am and what made me want to be a travel writer.
Please comment below, let me know what you think and if there’s anything else you want information on!
Follow me on Twitter, Instagram, and YouTube to see out more.